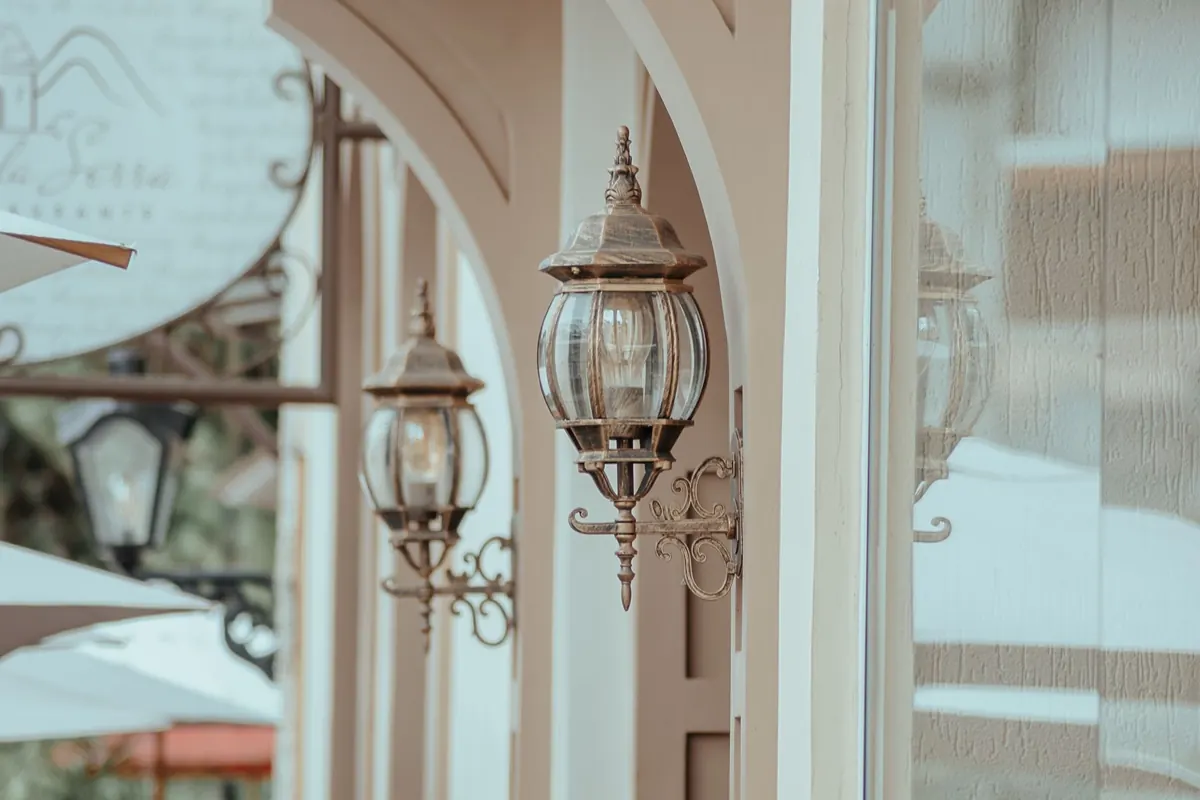
Brass and copper lanterns age honestly. A little darkening around a rivet, a honey tone spreading across a copper hood, a soft sheen on a brass wall light — none of that is decline. It is character. But character and neglect sit close together, and the difference usually comes down to a few minutes of attention a few times a year. The trick is knowing which metal you actually have, what finish sits on top of it, and how much shine you genuinely want. Get those three things right and cleaning stops being risky.
Identify the Finish Before You Touch It
Two lanterns can look identical and need opposite care. Factory-lacquered brass wears a thin clear coat that keeps it bright with almost no effort; the moment you attack it with metal polish, you cut through that coat in patches and end up with a blotchy surface that takes far more work than the original. Unlacquered brass is the opposite: it tarnishes because nothing is protecting it, and it is meant to.
Antiqued or patinated pieces are the ones people ruin most often. The dark recesses and softened highlights were put there deliberately, sometimes with a chemical dip, sometimes with wax over an aged surface. A strong cleaner strips the darkness out of the crevices and leaves the lantern looking flat and newly made — rarely what anyone wanted.
Test in a hidden spot before you start: the inside face of a backplate, the underside of a hood, the inside of a door frame. Lacquer feels smooth, almost plastic under a fingernail, and tends to bead water. Bare metal feels cooler and grabs a fingerprint within seconds. Copper behaves the same way — lacquered, waxed, or left raw to travel from salmon pink to brown to green. When in doubt, clean the least aggressive way and live with the result for a week before doing more.
The Routine That Prevents Most Damage
Almost all the harm done to decorative metal comes from grit and water, in that order. Dust a lantern with a dry cloth and you drag abrasive particles across the surface; wash it and leave droplets in a seam and you get spots, then staining, then pitting. Both problems are easy to avoid.
Dry first, always
Use a soft brush — horsehair, or a clean paintbrush for carved parts — and a microfiber cloth for flat panels. A vacuum on low with a brush attachment works well on large outdoor lanterns, though keep the nozzle away from glass seals. Finish the dry pass thoroughly before any water touches the piece.
Wash with as little water as possible
Fill two bowls with warm water and a drop of mild dish soap. Use the first cloth to wash, the second, barely damp, to rinse. In hard-water areas, rinse with distilled water, which dries without leaving mineral rings. Cotton swabs handle the crevices around rivets and hinges. Then dry immediately with a lint-free cloth and let the lantern air for twenty minutes before it goes back up or gets switched on.
Indoors, dust monthly and wash two to four times a year. Outdoors, rinse with fresh water monthly and wash properly each season.
Polishing Without Stripping Character
Polish is not a cleaner; it is a very fine abrasive that removes a sliver of metal. Every polishing session takes something away, so the goal is to remove as little as possible while getting the look you want.
- Confirm the metal is bare. No polish on lacquered, painted, or wax-only surfaces. If lacquer is flaking, either have it professionally removed and reapplied, or strip it in a well-ventilated space and commit to the patina life.
- Start with the mildest option. Soap and water first, then a cream polish rather than a liquid. Test it on the hidden spot and wait a day.
- Work small. One panel at a time, soft cloth, light pressure, following the shape of the metal rather than scrubbing across edges.
- Stop early. Leave the darkness in the recesses; that is what gives a lantern depth. Polish until every groove is bright and you have erased its age.
- Remove all residue. Polish left in a joint turns green and attracts dirt. Soft brush, a little soapy water, a clean cloth, then dry.
A light annual polish is plenty for most brass. Copper darkens faster and may want attention twice a year — or never, if you like the deep brown it develops.
Wax, Handling, and Placement
A thin coat of microcrystalline or carnauba paste wax is the best defence for bare brass and copper. Apply sparingly with a cloth, let it haze for ten to fifteen minutes, then buff. It slows tarnish, keeps fingerprints from etching in, and makes the next wash much quicker. Reapply each season, and more often outdoors. Wax over polish residue is pointless, so clean thoroughly first.
Handle lanterns with cotton gloves when you rehang them; fingerprints are mildly acidic and show up as dull marks within weeks on fresh metal. Keep rubber bands, plastic wrap, and foam packing away from brass and copper in storage — some of these materials release sulphur compounds that stain the surface, and those marks can be stubborn. Store lanterns dry, loosely wrapped in acid-free tissue, with the glass protected.
Outdoor Lanterns: Salt, Rain, and Green Stains
Outdoors, the same routine applies with more frequency and one extra habit: rinse. In coastal air especially, salt settles on the metal and holds moisture against it. A monthly rinse with fresh water followed by a thorough dry does more for longevity than any product on the shelf.
Check the practical details while you are up there. Drain holes in the bottom of the frame should be clear so water cannot pool inside. Gaskets around the glass should still be soft, not cracked. Screws should be snug but not overtightened, which distorts frames and can crack glass. If water has reached the socket area, switch the circuit off at the breaker and let the fitting dry completely before restoring power — and if there is any doubt about the wiring, have a qualified electrician look at it.
Green verdigris is normal on copper that lives outside. A little in the joints is part of the look. Heavy green run-off can be lifted with warm soapy water and a soft brush; avoid acidic cleaners, which
Photo: Beatriz Silva / Pexels