Pendant lanterns are the easiest lights in a house to get almost right. They look generous in the showroom, they photograph beautifully, and for the first evening after they go up everyone is pleased. Then a week passes. You notice the lantern over the table sits exactly at the height where it hides the person opposite. You realise the pair over the island reads as an accident rather than a decision. Small errors, all of them, and all fixable. What follows are the seven that come up most often, with the correction for each.
1. Setting the height by eye instead of by purpose
Height is the mistake people make first and notice last, because it is the one thing you cannot judge properly while standing on a stepladder. It is not a matter of taste. It depends on what people do underneath.
Over a dining table
The bottom of the lantern should sit roughly 75 to 90 cm above the tabletop. Lower than that and it dominates the conversation; higher and it stops lighting the plates, which is half its job. If a low ceiling makes the maths awkward, choose a shallower lantern rather than shoving it up against the ceiling.
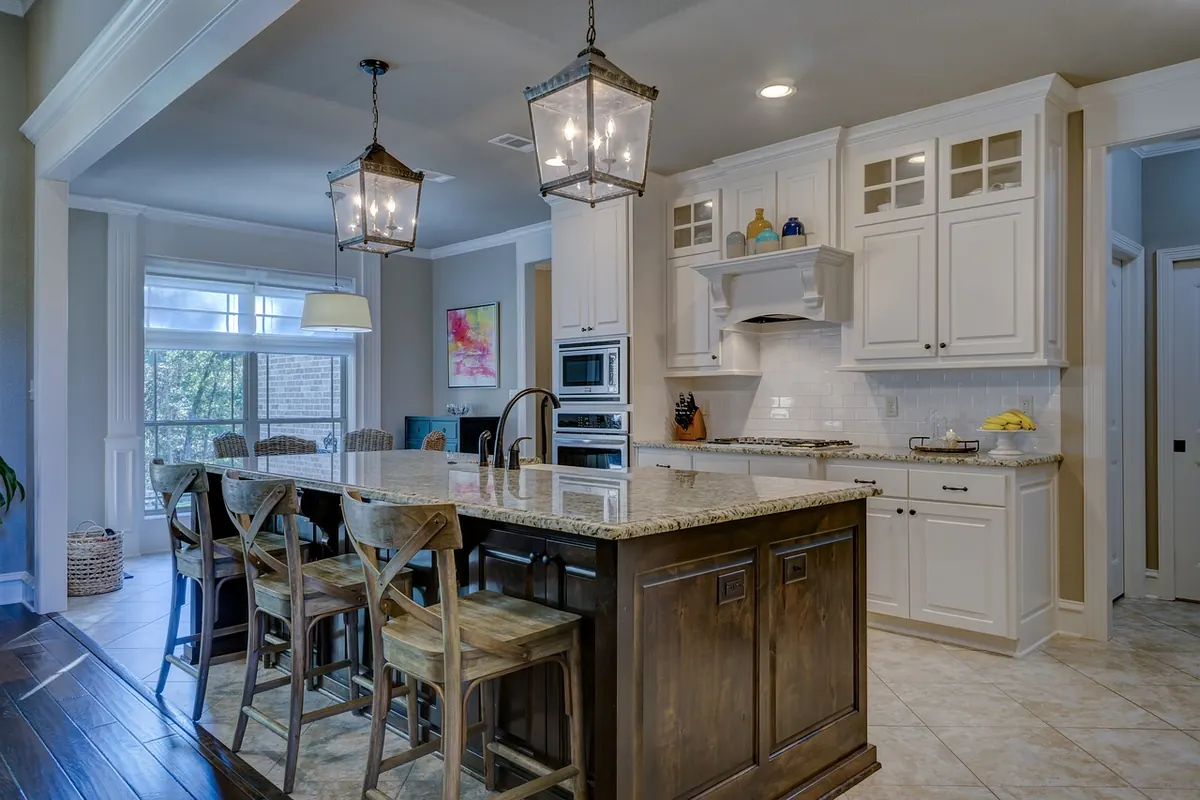
Over a kitchen island or counter
Same 75 to 90 cm range, but measured from the worktop, not the floor. People lean over islands. A lantern that feels fine when you stand beside it will be in the way the first time someone chops onions.
In hallways and stairwells
Here the rule reverses: keep at least 2.1 m of clear space from floor to fixture so nobody ducks. In a stairwell, hang it high but check that you can still reach it to change a bulb and dust the glass. A lantern you cannot maintain is a lantern that gets dimmer and grubbier every year.
2. Spacing pendants by eye
Two lanterns over an island is a simple sum that most people do badly, because the eye is drawn to the gap between the shades rather than to the centres of the fittings. Work from centres and the arrangement almost looks after itself.
- Measure the length of the island or table.
- Keep each fitting roughly 30 cm in from the end, so nothing overhangs.
- Space the remaining centres evenly.
- Check the gap between the shades: it should be at least the width of one lantern, ideally a little more.
On a 240 cm island with two lanterns 35 cm wide, centres at 70 cm and 170 cm give a gap of about 65 cm between the shades. Comfortable. What looks wrong is a gap narrower than the lantern itself, which makes a pair read as a crowd. On a long run of three or more, spacing the centres evenly matters more than the exact figure.
3. Treating the bulb as an afterthought
A lantern is mostly glass and air, so the bulb is on show for most of the day. A clear bulb at seated eye level becomes a small sun you cannot stop looking at, and no amount of pretty metalwork compensates.
Fit an opal or frosted bulb, or one with an internal diffuser. If the lantern takes candle bulbs, use frosted ones. Glare is usually a sightline problem rather than a brightness problem: sit in the chair, look towards the lantern, and see whether you can spot the filament directly. If you can, raise the fitting slightly, add a diffuser, or pick a lantern with an opal glass panel or a solid base plate that shields the bulb from below.
Warm light suits lanterns. Look for dimmable bulbs with a warm colour temperature and check the maximum wattage marked on the fitting, especially with glass shades that trap heat.
4. Choosing a lantern that is the wrong size for the room
A single lantern over a dining table should measure roughly one third to one half of the table's width. Two or three smaller ones can total a similar footprint without crowding. In a hallway, match the lantern to the width of the passage: slim and tall in a narrow space, wider and squatter where there is room to breathe.
Visual weight counts as much as inches. A dark metal frame reads heavier than an open glass one of the same size. Before committing, cut a cardboard template to the lantern's width and height, hang it from the ceiling at the final height, and leave it there overnight. You will know by morning.
5. Ignoring what is holding it up
Lanterns look weightless, but they hang from a ceiling that may be plasterboard, lath and plaster, or a joist in an unhelpful place. Fix into structure wherever possible and use a ceiling rose or mounting box rated for the load. On a sloping ceiling, add a sloping ceiling plate or extra chain links so the lantern hangs plumb rather than leaning with the roof.
Chain can be shortened by removing links, but keep a few in reserve so you can adjust once the room is furnished. And any mains wiring is a job for a qualified electrician; the money you save doing it yourself is rarely worth the risk.
6. Leaving the switch and dimmer until last
Where the switch goes, whether the pendant is dimmed, and whether it shares a circuit with other lights are decisions that belong at the start of a project, not after decorating. If you want dimming, buy the dimmer and the bulbs together and confirm they are compatible; mismatched LED dimming shows up as flicker or a faint buzz that is hard to cure later. Test the combination on a temporary flex before the lantern goes up.
7. Expecting one lantern to do all the work
A pendant lantern is local light with a decorative job. It flatters a table and gives a room a centre, but it will not light a whole kitchen. Layer it: wall lights, a floor lamp, a picture light, under-cabinet strip for the chopping board. One switch for everything also means one mood for everything, which is why a dimmer on the pendant is often the cheapest improvement you can make.
A five-minute check before you drill
- Note the ceiling height, the table or counter height, and mark the intended lantern height on the wall in tape.
- Hang a cardboard template at final size and height for an evening.
- Sit in the actual seats and look up to check for bulb glare.
- Mark fixing centres on the ceiling and confirm where the joists run.
- Test bulb and dimmer together before the final connection.
None of these corrections takes long, and most cost nothing at all. Measure for the people who will sit underneath, not for the photograph, and a pendant lantern will do what it is supposed to do: light the table, hold the room together, and quietly disappear into the evening.
Photo: shadowfirearts / Pixabay